
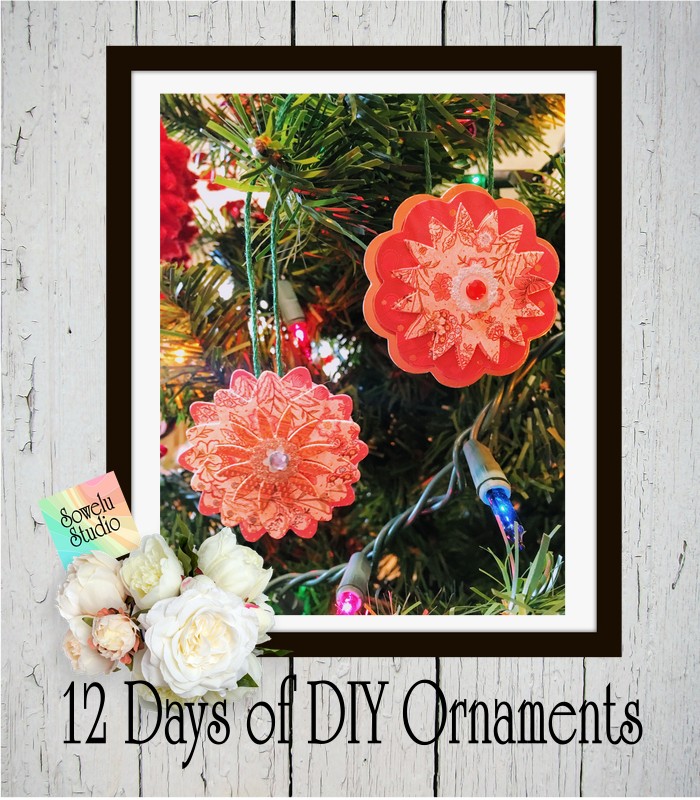
 Do you have a small collection (hoard) of 3D scrapbooking stickers? Here’s a fun way to use them to make a 3D Sticker Ornament to dress up your Christmas tree! I haven’t seen this one on Pinterest yet, but I’m sure it’s there somewhere. I can’t believe I don’t have any Christmas stickers! (But let’s just keep that between us.) But after rifling through my stash, I did find these, and they worked out perfectly.
[Tweet “3D Stickers make the most adorable Christmas Ornaments! “]
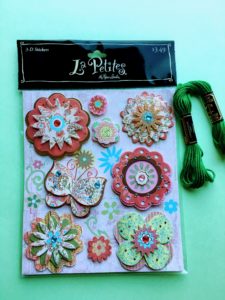
Here’s what you’ll need to make this 3D Sticker Ornament
- 3D stickers of your choice
- Scrapbook paper scraps
- Scissors
- Embroidery thread, or yarn, or whatever. This us used to make the hanger for the ornament.
Step by step Instructions
- Start by deciding which stickers you will use.
- Peel the sticker off the backing and set it down, sticky side up.
- Measure a 10″ or so length of thread/yarn you’re using for the hanger, and knot the two ends together to form a loop.
- Place the knot in the center of the sticker. Press down firmly on the length of the thread so it adheres to the sticker.
- Cut out a section of scrapbook paper similar in size and shape to the 3D sticker you selected for your ornament.
- Attach the scrapbook paper to the sticker, pressing firmly. Trim edges if necessary.
That’s it! You’re done! Now, you know you can’t stop at one of these lovelies, so rinse and repeat as necessary;-)
If you enjoyed making this ornament, share the love with your friends.
If you’ve missed out on the other ornaments in the series you can find them here, here, here, here, & here & here. I hope you enjoy them! There’s just nothing better than enjoying a Christmas tree filled with handmade ornaments.
Leave a Reply