
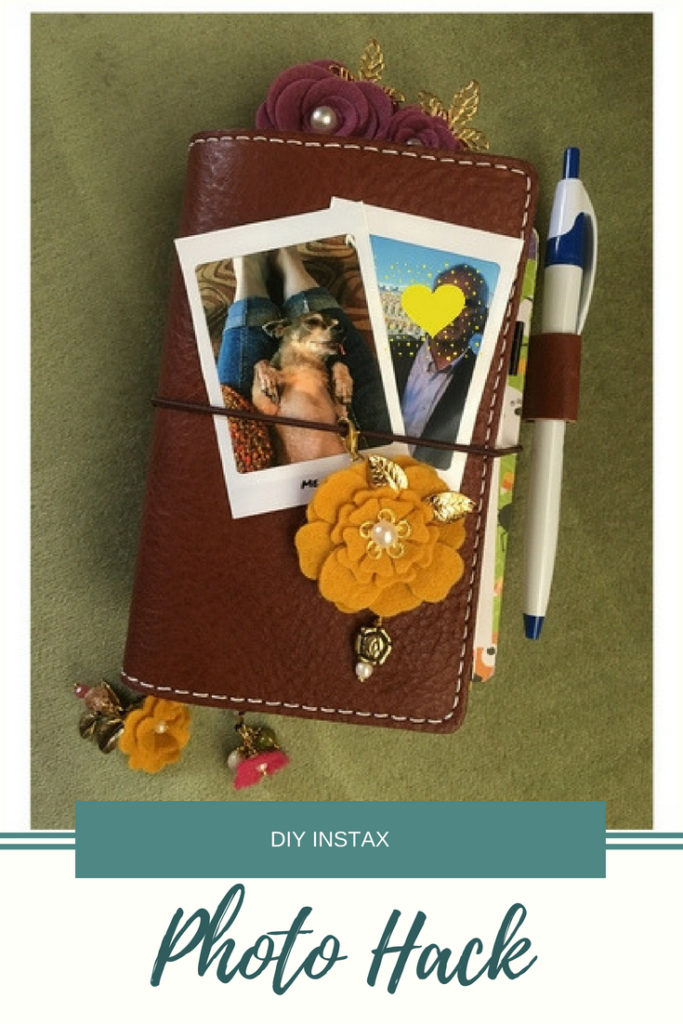
If you love the look of Instax photos for spiffing up your journal, but don’t have the budget to purchase an Instax or Polaroid camera, or even one of those schmancy portable photo printers that print from your iPhone, then this is the DIY solution for you!
In all honesty, it’s not the camera or the printer that will suck up your hard earned money, it’s the film. Even buying in bulk, you’re looking at about $0.60 cents per picture. I don’t know how you feel about that, but I think it’s a little pricey. (I admit, I’m a bit of a cheap ass. I’m okay with that;-)
If you’d rather pay on the order of $0.08 cents for the same polaroid look, read on and let me show you how.
The first caveat is that the method I’ll show you applies to iPhones. If you have an Android or other device, they may not have equivalent apps. ‘Nuff said.
Here’s what you’ll need.
-
Pic Stitch by Big Blue Clip, LLC (Pic Stitch does have an Android version.)
-
Scissors
Instructions:
1. Open the Instants app on your iPhone with a tap.
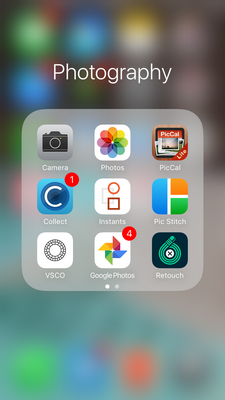
(Middle row, middle column, as shown above)
You’ll have the option to select a picture from your camera roll, or allow the Instants app to access your camera to take the photo directly in the app. You choose.
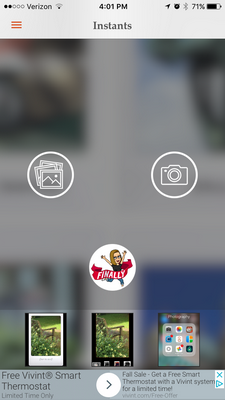
2. Snap the pic, or select the photo from your camera roll.
You’ll see the photo you selected/shot on your screen.
In the current version of the app, I select the third frame from the left. This way, I don’t have to crop or resize my photo. But play around if you like and choose the one that makes you happy;-)
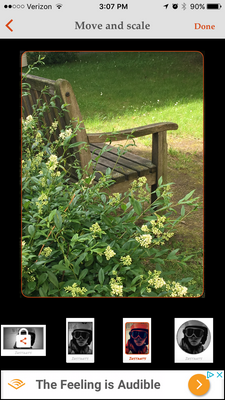
Tap “Done” in the upper right hand corner.
Your photo will now have the characteristic polaroid frame and you will now have the opportunity to add text.
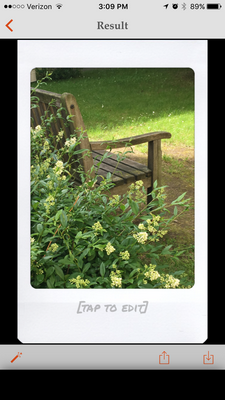
Tap on the photo where it says [Tap to Edit] and add text.
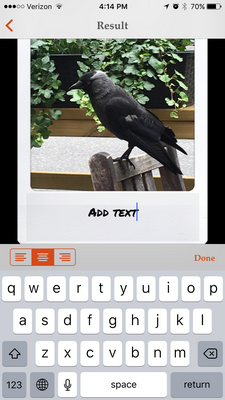
You can left justify the text, or right justify, or center. Then click “Done” in the middle right side of your screen.
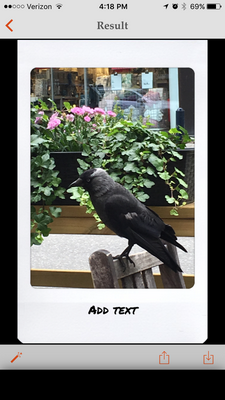
Now click the download icon, bottom right, to resave the photo in your camera roll.
3. Repeat for at least three other photos.
4. Exit the Instants app.
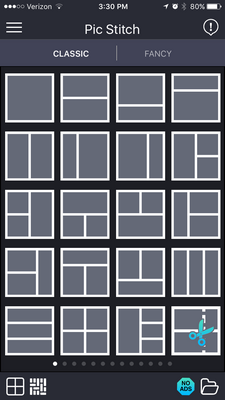
5. Tap open the Pic Stitch app.

(middle row, right column, as shown above)
Your screen will fill with an assortment of frames. Select the frame in the 5th row, 2nd column from the left.
6. Tap the icon for “Aspect”. Bottom of your screen, 2nd icon from the left, and tap the 4×6 option.
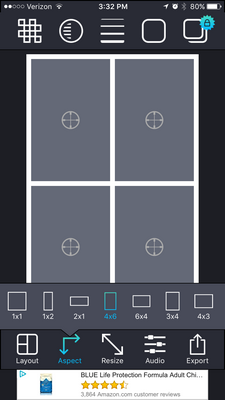
7. Tap on one of the grey squares and the app will allow you to navigate to your photos. Select the “Instants” album and select your photos. (four of them). It will pull in the photos you selected. Drag and drop to arrange them into the layout.
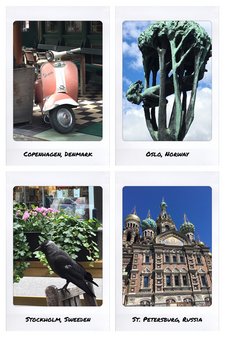
This is what your 4″x6″ photo will look like.
8. Select export.
9. From here you can save the photo to your camera roll for printing at home. Or, you can choose to have it printed for you at your favorite store.
I have a Walgreens right around the corner from me so I use the Walgreens QuickPrints App and can pick up my prints in an hour.
10. Pick up your photos, cut them to size, run some double stick tape along the back and insert into your journal!
Now, I know this DIY Instax photo hack doesn’t provide the same level of instant gratification that an Instax camera or portable iPhone photo printer would, but it’s really not that big of a deal.
I don’t let the printing time slow me down! I have cut myself a 2″ x 3″ piece of cardstock that I use as a size template. If I’m in the middle of journaling, I simply lay down my cardstock template, and trace around it to define a space for the photo.
Once I have the photo in hand, I simply place it in it’s designated spot in my journal using a bit of double sided tape.
If you’re traveling and won’t have access to the photos for some time, I still use my little piece of cardstock to trace where I want the photo to go in my journal. Then, in pencil, I will write in the blank square a small description of what pic I want to go there. Once I’m home, I get the photos printed and insert them according to the notes in my journal. Easy peasy.
Hope you had some fun with this tutorial and learned something new!
Leave a Reply