Monday Mini Project:
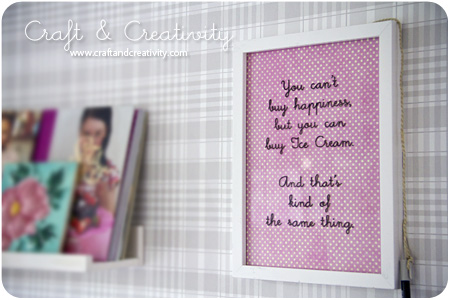
Erasable Board
This is really easy to do and can be varied in so many ways.
You will need:
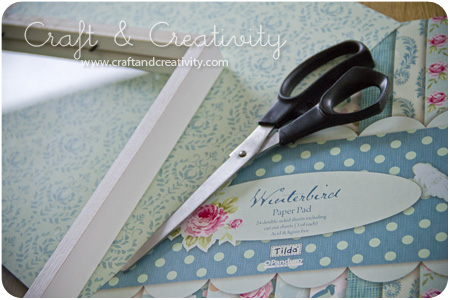
– Frame with glass
– Patterned or plain paper
– Whiteboard (dry-erase) pen
– Twine
– Picture hook or nail
 How-to:
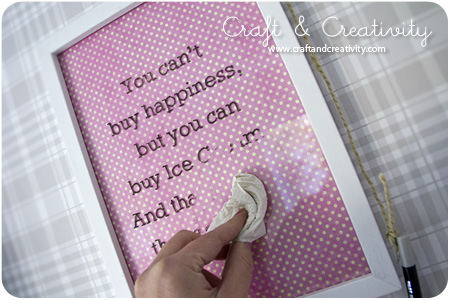
Cut a sheet of paper so it fits the frame, measure with the help of the glass or the back of the frame. If you want to, cut out a number of sheets of various colors and patterns, for variation when you feel like it. Seal the frame on the back and hang your erasable board on the wall. Attach a twine of suitable length to the dry-erase pen and let it hang on the same picture hook as the frame. Start writing! For example write down shopping lists, the week menu, a quote you like or a poem.
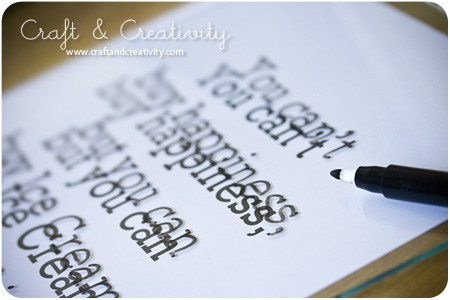
 To variate your own handwriting, try this: Type the text you want in MS Word, print it on your printer, put the print-out under the frame glass and trace the text with your dry-erase pen. The result is really neat! I’ve made a pdf with the texts I used, which you can download here if you like.


Reblogged this on nicethingsinmylife and commented:
Wow. This certainly is a the next stage to chalk board messaging and can be styled to your room decor.
So glad you are enjoying the blog! I’m making a few for this year’s craft shows. I think they’ll be a big hit for the holidays.
Thanks for stopping by!
Monique
I’ve reblogged. This is such a great idea and I’m definitely going to have to make some. This would make such a lovely gift for friends too. thanks, loving your blog.