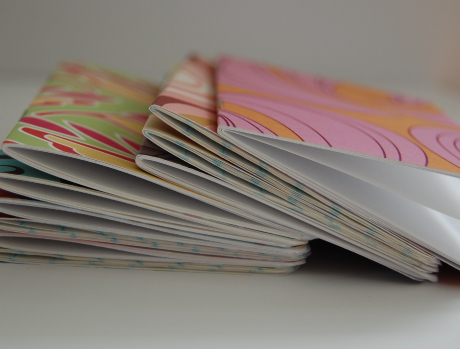
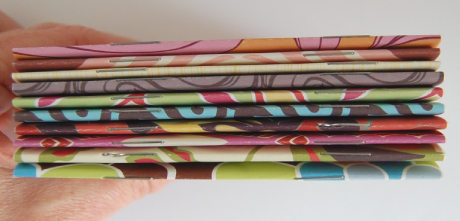
 A quick trip to Lowe’s this morning reminded me that I really need to make a bunch of these and keep one in my purse. Hubby always, yes I do mean always, asks for a piece of scrap paper when we visit Lowe’s. And, he knows he needs to request it from an employee because the best I can ever do is offer him a receipt from my wallet. He can write, draw a picture, or derive a calculus function on the back of it until his heart is content. He especially likes my grocery receipts because they tend to be long and provide much more space for rambling thoughts. The other cool thing about this project is that my dad gave me a box of dot matrix printer paper. Say what? Those of you who are part of the younger crowd may not remember dot matrix printers, but I’m pretty sure you can view them at a museum somewhere. So, this is the perfect project for said paper. I hate to use my “good” copy/printer paper, especially if hubby uses if for calculus calculations, so here it is the perfect marriage of function and form. Enjoy!
To make a pocket-sized notebook, you’ll need:
– 2 sheets of 8.5 x 11 plain paper or notebook paper
– 1 sheet cardstock, one with a design looks the best, but you can use plain if you wish.
– scissors or paper trimmer
-stapler
1. Cut paper into quarters that are 4.25″ x 5.5″.
2. Cut the cardstock to the same dimension.
3. Optional: trim corners with a round-edge paper cutting tool. I use a Crop-A-Dile Corner Chomper for this step.
6. Unfold paper & cardstock. Stack with paper on bottom & cardstock on top, with design facing up.
7. Hold stack tightly and staple 1″ from each end on crease.
8. Refold and crease again to keep it from popping open.


Leave a Reply