
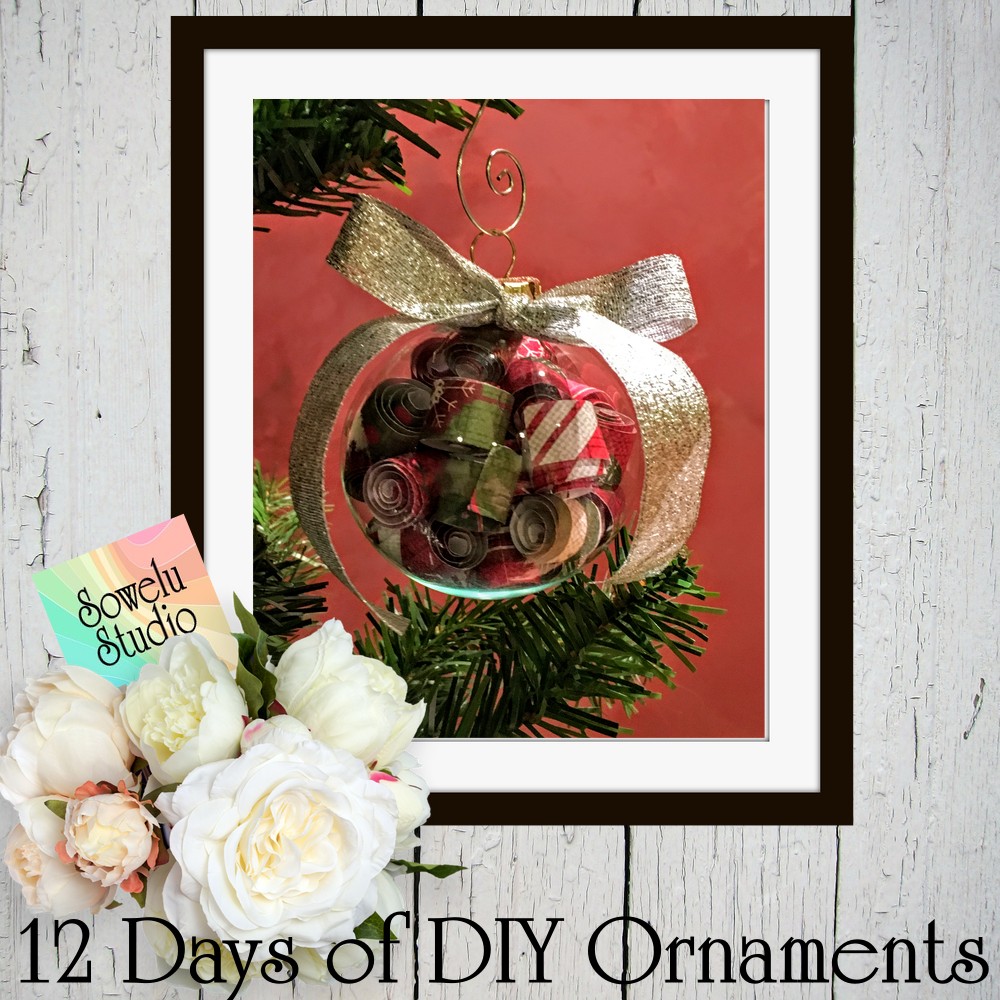
 I’ve made an effort each year to make or acquire handmade ornaments in the hopes that someday, the tree would be filled with them. So far, I’ve fallen woefully short of this goal, though each year a bit of progress is made. I guess it’s one of those things that just shouldn’t be rushed into. (aka, That’s my excuse and I’m stickin’ to it!) Well, after a brief sit down chat with myself I decided to bring you The Twelve Days of DIY Christmas Ornament Extravaganza! Most of these delightful ideas were scoured from Pinterest, and I’ve spent a bit of time each day creating the ornaments. It’s been a lovely segue into the season and the spirit of the Christmas holiday. I hope you enjoy the series.
[Tweet “12 Days of DIY Ornaments-a lovely segue into the Christmas season!”]
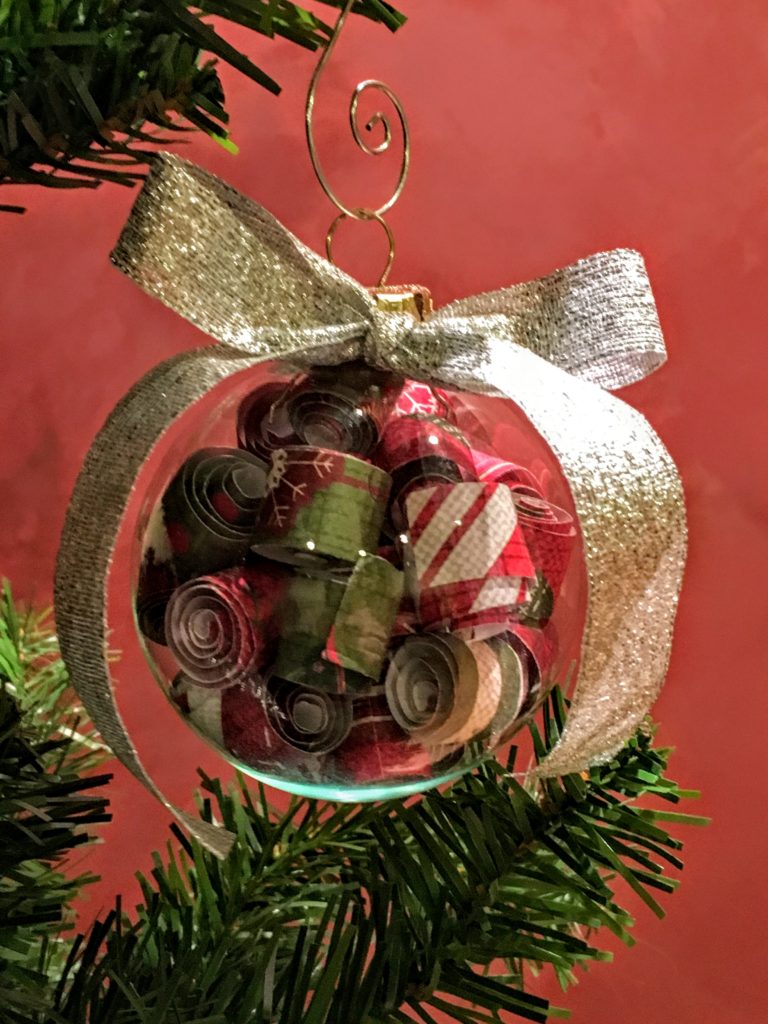
Here’s what you’ll need to make this scrap paper glass ornament:
- Clear glass ornament, round. (I’ve had these hanging around for so long Hubby had to dig out the calipers to measure the diameter for me. He say’s they are 2-5/8″)
- Miscellaneous scrap paper, Christmas themed, (or not), cut into 1/2 inch x 6 inch strips. I used 7 different designs and cut 5 strips of each.
- A 2″ long steel yarn needle. Turns out the eye of this blunt needle was the perfect size to accommodate 1/2 wide strips of paper. Score!
- A scrap piece of ribbon to tie around the top of the ornament. I used 5/8″ wide ribbon that was approximately 10 inches long.
- Ornament hook to hang.
Step-by-step instructions:
- To get started, remove the cap from the top of the ornament and set it aside.
- Lay out your strips of scrap paper, a pile for each design.
- Grab a strip of paper from your first pile, stick one end into the eye of the steel needle, fold the paper down ever so slightly so it stays put, then turn the needle and wrap the paper around it. Once you get to the end of the paper strip, give it a good squeeze to help it keep its circular shape, then carefully remove the needle.
- Drop your tightly wound strip of paper into the ornament.
- Repeat steps 3&4 until you have used all the cut strips of scrapbook paper.
- Is the ornament as full as you would like it to be? If not, add more wound strips of paper.
- Carefully replace the cap.
- Tie a lovely bow around the top of the ornament. (This step took me three days. I cannot tie a bow to save my life.) Hopefully, you have an innate bow tying ability or some sort of genetic predisposition that allows you to complete this step in a more timely manner.
- Attach ornament hook, hang, and enjoy. (The ornament hook in the photo was purchased in a pack of 40 from the local Dollar Store.)
That’s it! You’re done!
Now, very carefully, hang this lovely on the tree. As you can see, I totally failed at this step. (My sailor mouth had a few things to say at this point;-)

If you’ve enjoyed this tutorial~consider spreading the love and sharing with your friends!
Leave a Reply